Botanical Sketching
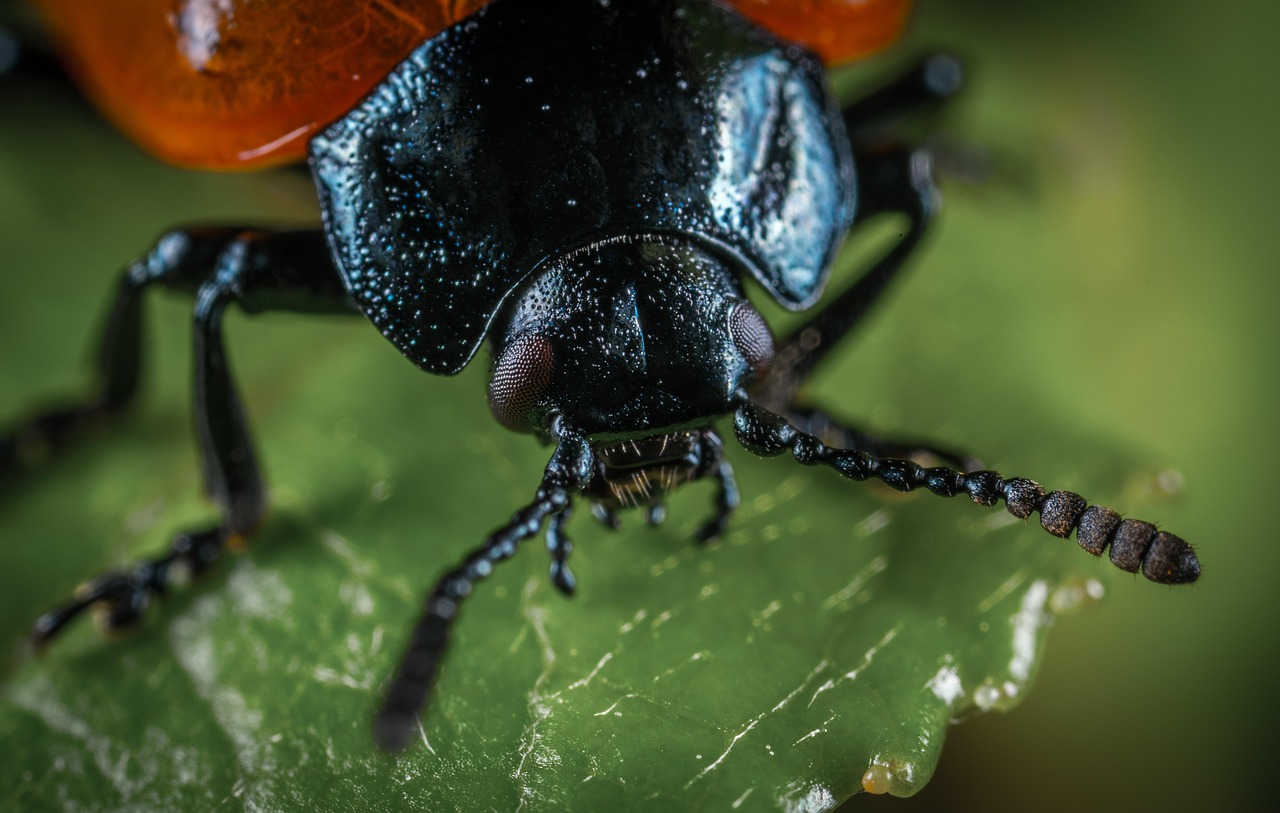
Insects are everywhere in a nature journaler's world, and they're almost never still. A bee lands on a flower, works it for two seconds, and moves on. A dragonfly patrols a stretch of pond edge and refuses to perch. A beetle drops off a leaf the moment you raise your pencil. Sketching them live feels impossible.
It isn't, but it requires a different approach than sketching a tree or a landscape. You're not going to get a finished portrait in one sitting. Instead, you build the sketch over multiple encounters, using a combination of observation, memory, and a little bit of patience.
Before you try to draw any specific insect, spend a little time learning the general body plan. All insects have three main sections: head, thorax, and abdomen. They have six legs, and most have two pairs of wings (beetles have one pair of hard wing covers and one pair of flying wings underneath). Mouthparts vary widely—some are built for chewing, some for sipping, some for piercing.
If you know this basic structure, you can start a sketch with confidence even when the insect flies away. You know where the legs attach. You know roughly how the body segments relate to each other. You can fill in the details later when you see the insect again, or when you find a similar one to study.
This is the key insight: you don't need to draw one insect perfectly. You need to draw the category of insect well enough that you can refine it over time. A bumblebee sketch started in June can be finished in July, with a few notes added in August.
The first pass is gesture. When the insect lands, draw the simplest possible shape—an oval for the body, a smaller oval for the head, a line for the direction it's facing. Don't try to draw legs or wings yet. You have maybe two seconds. Get the posture.
The second pass is structure. If the insect stays put for ten or fifteen seconds, add the thorax, the main leg joints, and the outline of the wings. You'll still miss things. That's fine. Write a note next to the sketch: "wings held flat," "abdomen striped yellow and black," "legs reddish." These notes will jog your memory later.
The third pass is refinement. This happens when you get a longer look—maybe the insect is warming up in the morning sun, or feeding on a flower it really likes. Now you can add the details: the veins in the wings, the pattern on the abdomen, the shape of the antennae. If you have a phone, a quick photo can help, but try to draw from life first. The act of drawing forces you to notice things a photo won't.
Over a season, you'll end up with pages of half-finished insects, each one a little more complete than the last. That's not a failure. That's how insect sketching actually works. The insects are fast, but the practice is slow—and that's exactly what makes it worth doing.
